Concrete is one of the world’s most widely used building materials thanks to its durability, versatility and ability to be shaped and formed into various structures. Refining the unfinished surface of the concrete is a technique often used to enhance the concrete’s appearance. The three most common methods of refining are grinding, honing and polishing. Although polishing concrete is a three-stage process that first involves grinding and honing, each method has its purpose and level of abrasion, so it is essential to understand their differences.
Grinding is the most aggressive of the three techniques, using coarse grit tooling to remove thick coatings, stains or blemishes from the surface of the concrete. The grinding process produces a flat, level surface ideal for further refining, such as honing or polishing.
Before grinding, thoroughly clean the floor to remove any dirt, dust or debris. If there are large holes or cracks in the floor, repair the damaged areas with an appropriate repair agent.
If thick coatings, adhesives or paint is present on the surface it is recommended to use PCD grinding segments to remove the coating before proceeding. As a general rule of thumb if the coating is thicker than 3mm utilise PCD grinding segments. If the coating is thinner than 3mm proceed as below.
Next, the coarse metal bond diamond tooling (6/16/30 grit) grinds away the top layer of the concrete surface and exposes the aggregate (stones and sand) below. The grinding process continues until the desired aggregate exposure is achieved and all protruding areas have been removed. This stage of the process typically takes the longest.
Honing
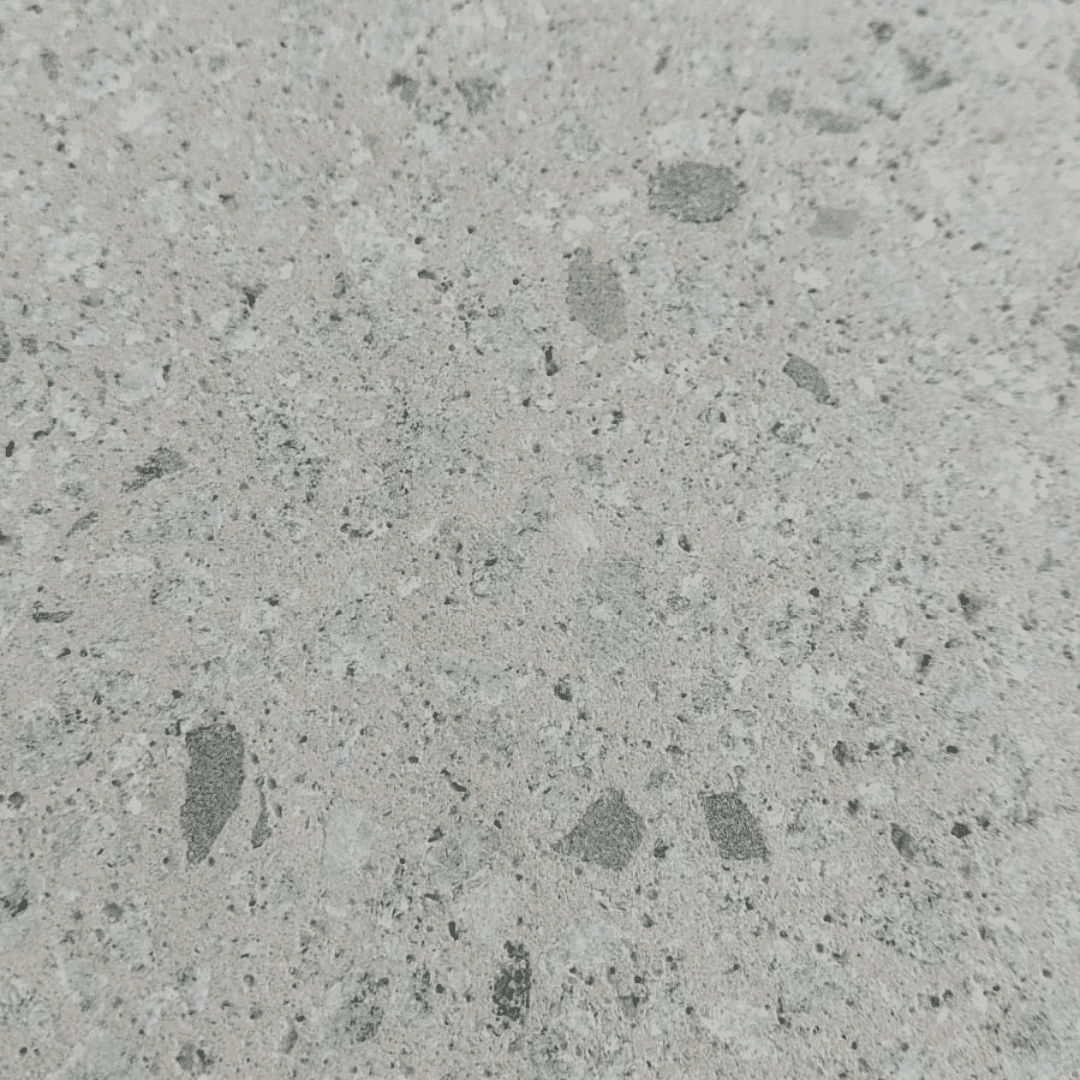
Once the concrete surface has been prepared by grinding the concrete, honing can take place. Honing uses finer metal bond diamond tooling to smooth out the surface and bring out the natural shine of the aggregate. Honing is less aggressive than grinding and removes more minor blemishes, scratches and any remaining rough spots. The difference in the surface of the concrete after honing is noticeable.
60-grit metal bond diamond tooling removes the significant scratches left by the coarser metal bond diamond tooling. At this point, the surface is even and smooth. However, honing sometimes results in pinholes on the surface of the concrete, so a densifier and polishing grout may be applied with 60-grit metal bond diamond tooling to fill the pinholes. 120-grit metal bond diamond tooling removes finer scratch marks left by the 60-grit metal bond diamond tooling. Once the floor has been vacuumed and the state of the concrete assessed, a second coating of densifier and grout may be applied, this time with the 120-grit metal bond tooling.
Polishing
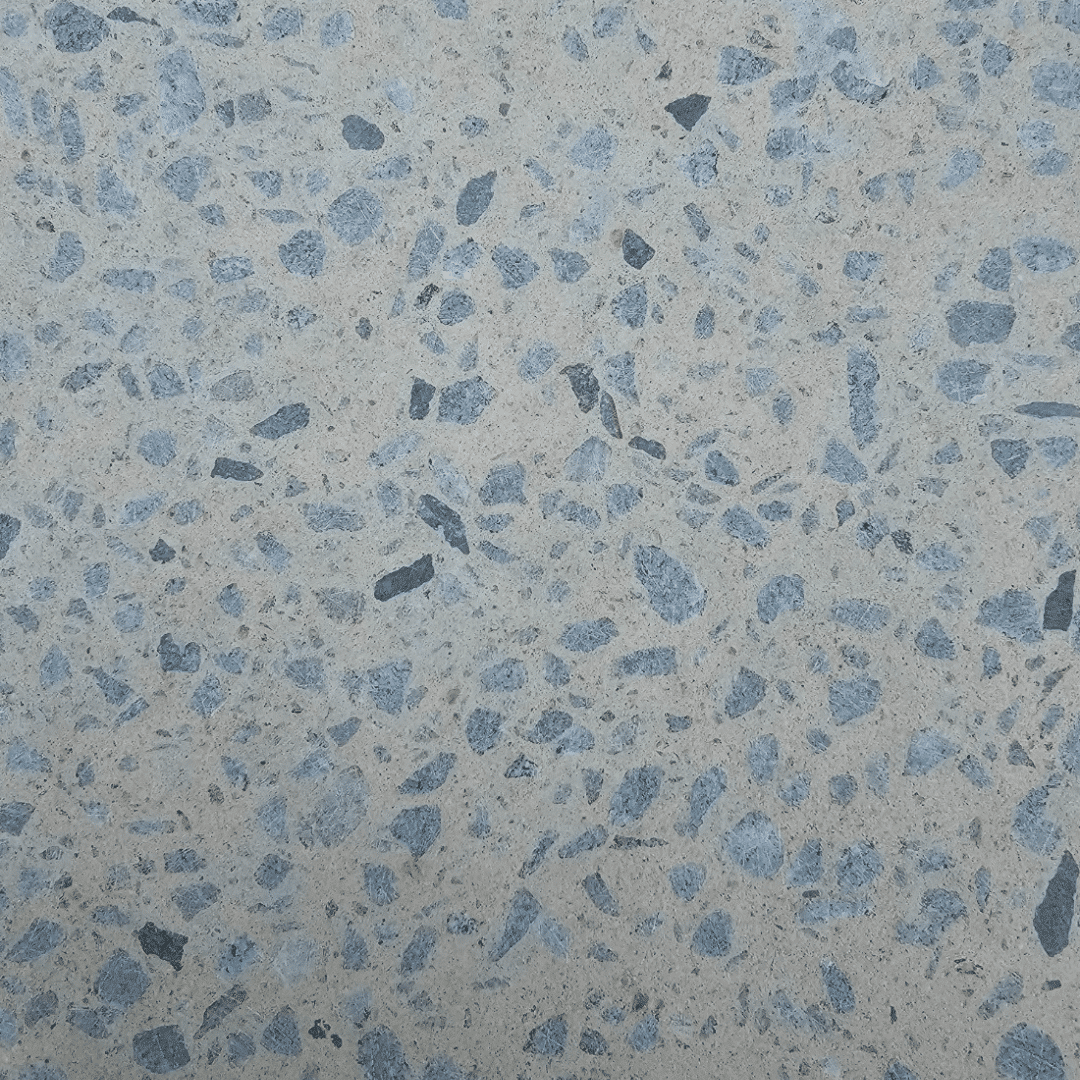
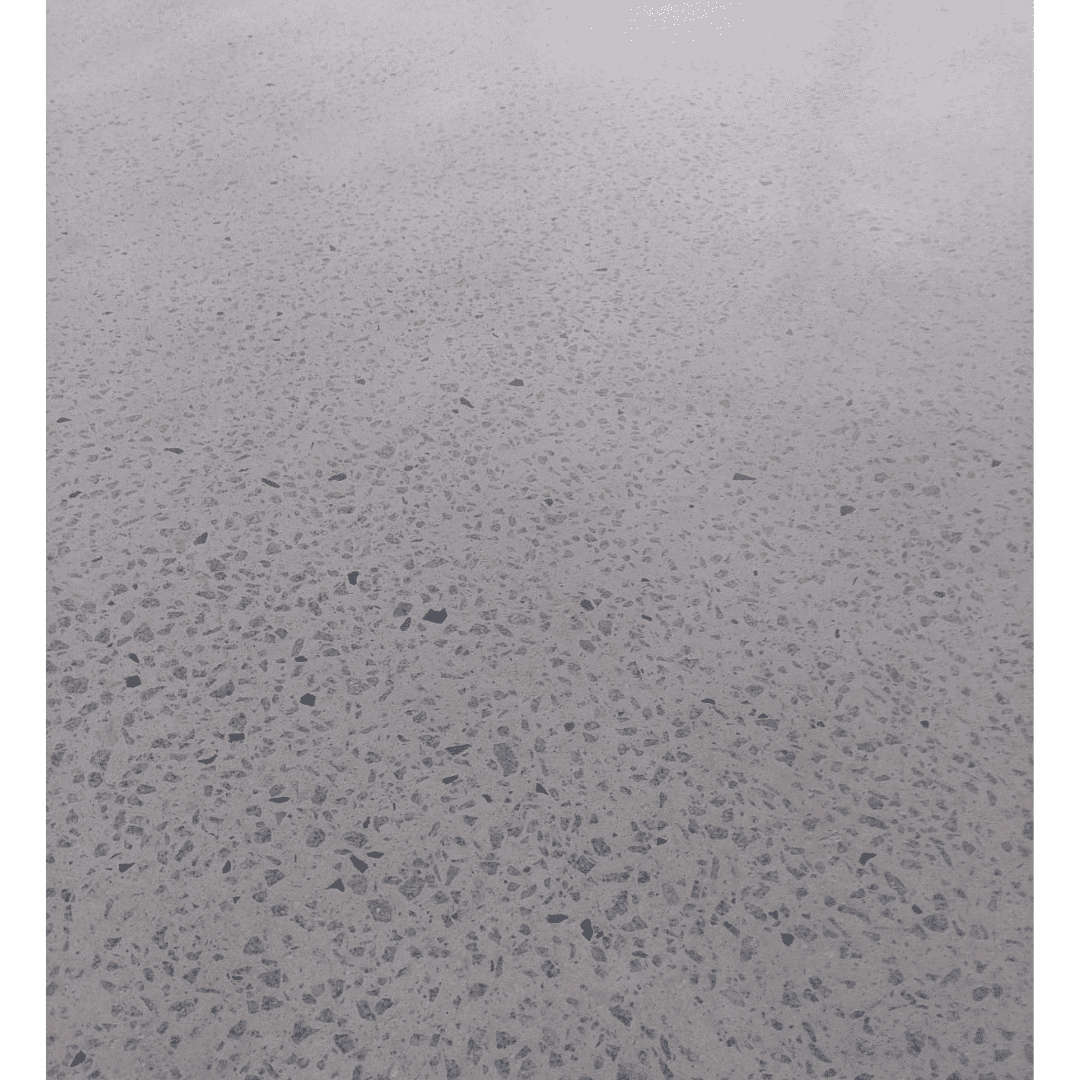
Polishing is the final step in the process. It involves using a series of progressively finer diamond tooling to create a smooth, reflective surface on the concrete. Polishing is the most delicate and time-consuming of the three techniques. The result is a glossy surface that is not only appealing to look at but also highly durable and resistant to wear and tear.
After completing the honing process, 50/100/200 grit plastic resin or ceramic polishing pucks remove any remaining scratches left by the metal bond diamond tooling. Next, a lithium densifier is applied to the concrete. Next, 400-grit plastic resin polishing pucks are used before a lithium densifier is again applied. Next, 800/1500/3000 grit plastic resin polishing pucks are used to achieve the desired level of shine before the surface is vacuumed to remove any dust. Finally, one or two coats of a penetrative sealer are applied, and once dry, the surface is buffed to reveal the final product.
When honing or polishing concrete, moving through the grits in order is important. Do not attempt to skip grits, as this will produce an inferior product. It is unnecessary to begin honing or polishing using the most aggressive grits available. The starting grit will depend on the current state of the floor and the desired level of aggregate exposure.


